Building A Baby Crib
Why would you do that
When I was learning to be a father, my first thought was that I wanted to make the little boy his first bed. Reasons I think this is a good idea: 1. You can create a style that will fit into your bedroom or child’s room. By choosing the materials yourself, you can ensure that you are not using any potentially harmful materials. The price was not an advantage: the materials that you collect depending on the wooden structure cost about 200 euros, for which you easily bought a cot. The time you spent on this project easily exceeded 50 hours.
How the design came about
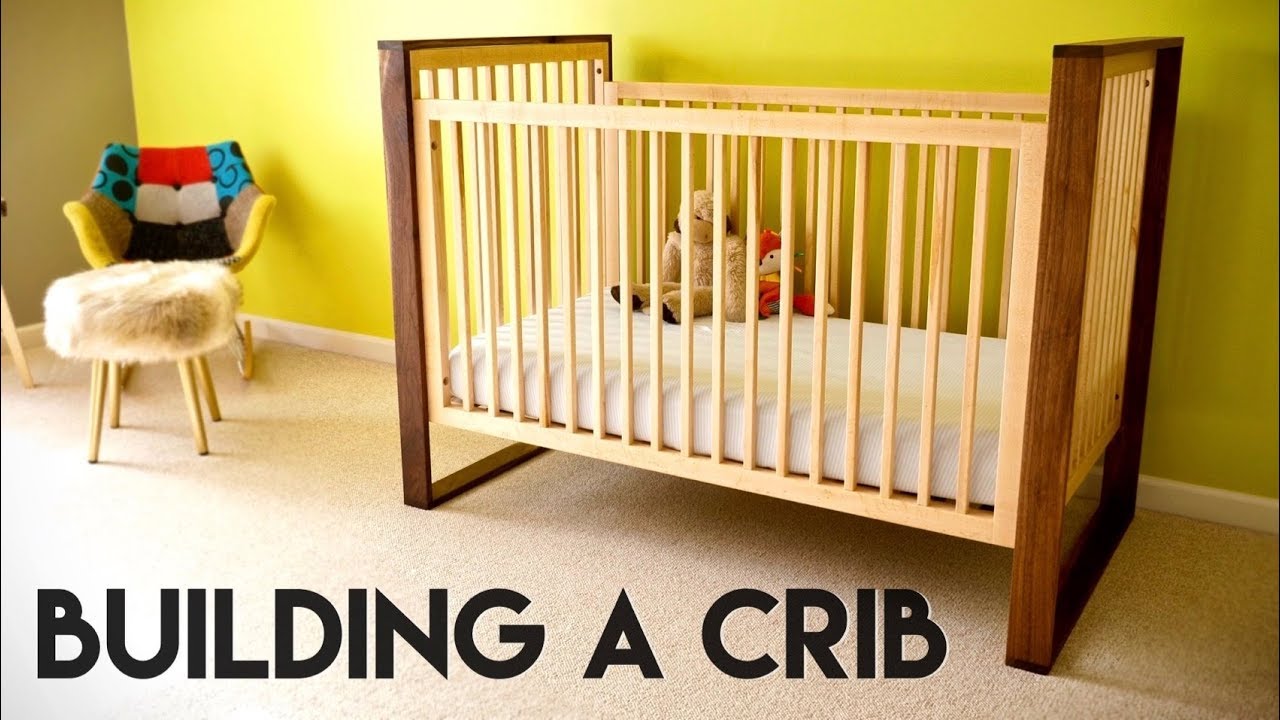
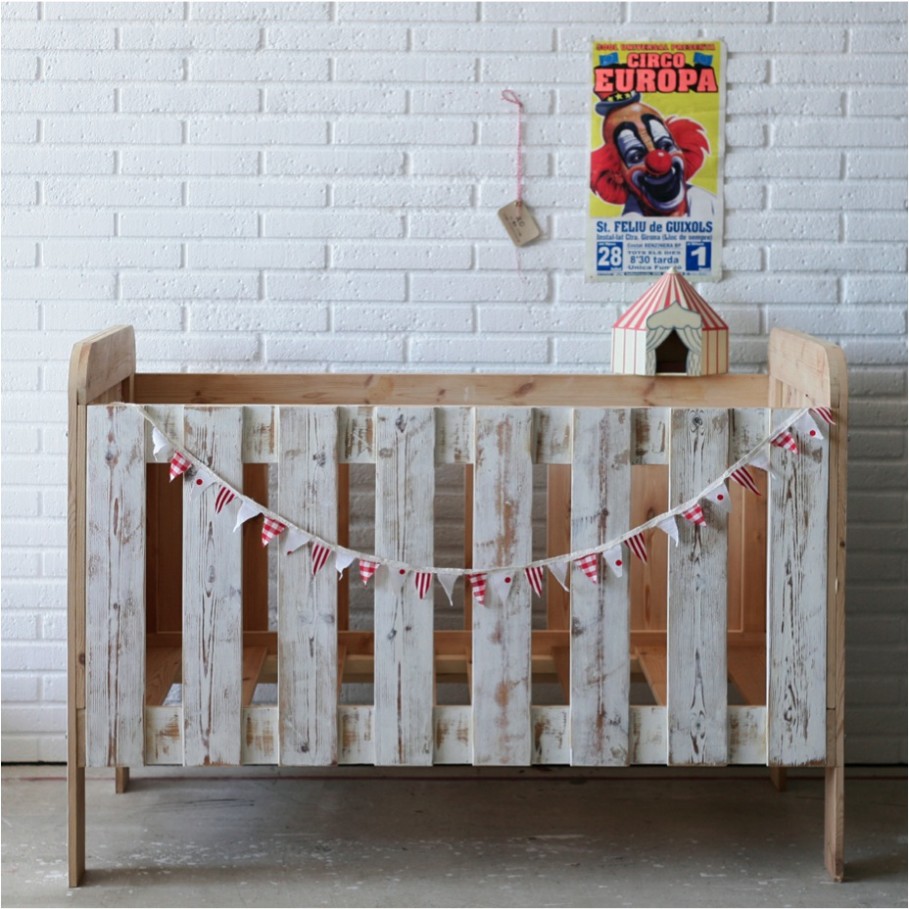
At first I wanted to use hard wood for the whole thing. But I also don’t like the general design of the wooden bars for the sides / rails – I found this open design wasn’t “comfortable” enough. I took my inspiration from a very expensive (€ 1000) Scandinavian-style crumb that used cut-out plywood instead, and decided on something similar. Post rails look like fences, this design is like a wall with windows – I liked the idea. With plywood on the side boards, I decided to use hardwood for at least the head and foot boards.
Step 1: bed size
Size: base area
There are usually two sizes: 120 x 60 cm and 140 x 70 cm. I chose a smaller version. Of course the baby fits in a bigger bed, that doesn’t mean that he wants to sleep there – and when the time comes, I’ll be waiting to bring a kind of racing car or space ship-shaped baby bed to the front so that the baby bed doesn’t stay with the baby forever must fit.
Size: height
The decision here is about safety. As soon as the baby can get up and you do not want your children to step on it, there should be at least cm0 cm between the top edge of the mattress and the side. I chose a total height of 80 cm. Great height.
Size: Slight mistake
When buying or cutting materials, always remember that the size of the mattress is 120 x 60 cm. Therefore everything around them has to be bigger: The side boards should be 120 cm plus the wall thickness of the heads (i.e. approx. 124 cm).
Step 2: materials and tools
Sideboard
I used birch plywood because of the light color. The thickness of 15mm ensures a balance of durability (the sides should not bend in any position – the baby can get stuck between the mattress and the side board) and does not look too big.
Headboard
Unlike plywood, I used alder wood for the head and feet. Since it was not possible to achieve a width of more than 60 centimeters, I decided to use small foot extensions so that the side boards “don’t hang in the air” but rest on the extended headboard. Choose your preferred material, the thickness needs to be at least 19mm as this is where large screws go in to hold the sides of the plywood. Some additional elements of the extension for 80 cm 60 cm (2 x) plus.
Other staff and equipment
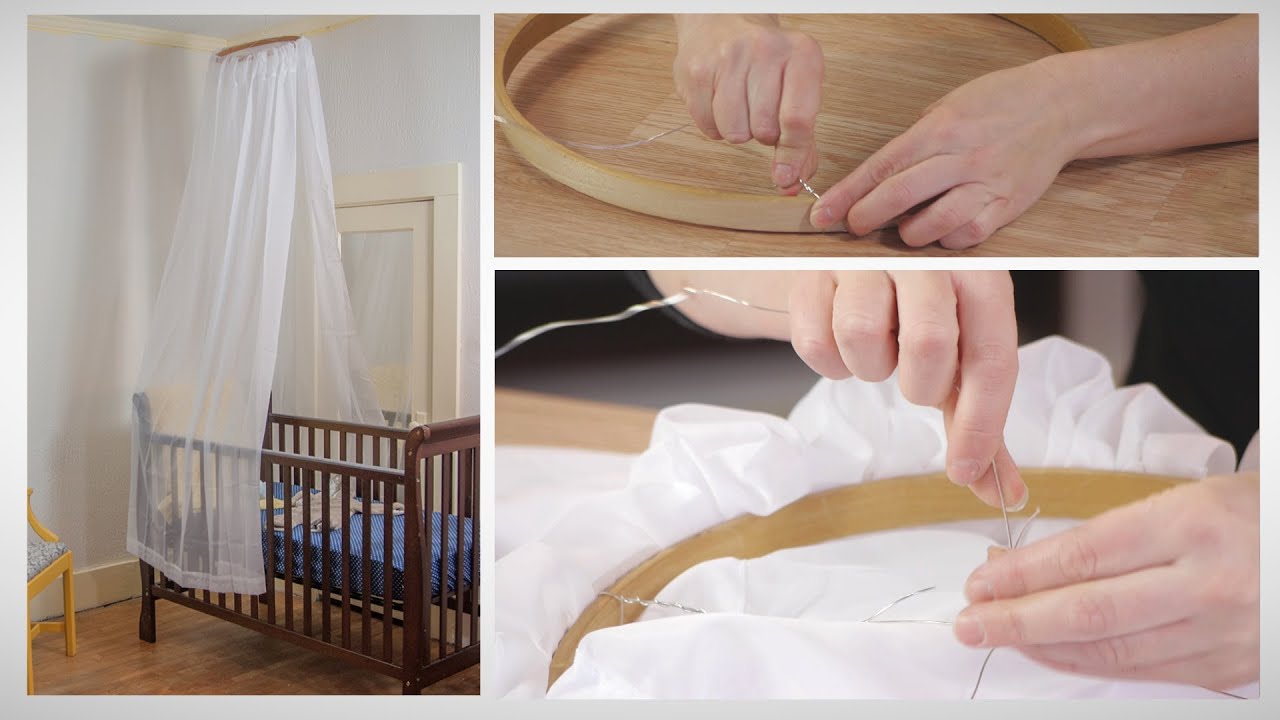
The bed is usually made with the top up, but you will also need some nuts and bolts to secure the sides of the headboards and to rest for the slatted frame that attaches to the side of the head. Slatted frames can be made yourself or bought (these are inexpensive). You should use a slotted frame instead of a board to allow air to flow through the mattress. Tools: power saw, planer, load of sandpaper, 60mm hole saw, column drill (handheld also works), wood glue, a Japanese wood saw.
Finished
I chose wood oil, which can be bought as organic and child-safe (“saliva-proof” / saliva). The short sides have been given some color (dark cherry oil) to match the rest of the interior of the house. I found a seller who specializes in organic wood oils. Write to me if you need details. Remember that the finished wood should dry completely in a week before putting your baby in it.
Build Your Own Baby Crib
You will need
- Blueprint paper
- Wood
- stains
- T-nuts
Tip
Always work outdoors wherever you are protected from dust and fumes. Use only familiar cutting tools. If you are not sure, ask a friend to help you. If you make a mistake, buy extra wood. Do not rush into the project. Learning how to build a base can be difficult!
Attention
Working with wood and saws is dangerous. Therefore, learn how to handle everything safely. Unless you are certain that everything is safe and toxin free.
This step-by-step guide can save you money on turning your baby and other necessary things! Read on to find out how easy it is to make this must-have piece of baby furniture.
First of all, you need to choose the type of wood that you want to use for the cracker. Virtually any type of wood will work and your choice should take into account your climate as well. Next, create a design for your crabs on your blueprint paper. You can design it if you want, but you may want to go to a baby supplies store beforehand to get an idea of what you will like. Some people prefer to find the foot pattern on a thin piece of plywood and then cut it out so they can use a model as a reference.
Cut your selected wood into about six boards that are about 54 inches long. These serve both as rails and as legs for the cot. Use your jigsaw to cut off the real legs, sand them, and trim off any rough edges. You will then want to make side boards for the crib called 55.5-inch pieces of wood. Create a pattern again, and then create a life-size version.
Take pieces of this board and cut the slots. If you want a spacious home, about 30 are recommended for each side and they should be about 1.5 inches wide. When your saw is done, use a hole to cut the recess in each side rail. Once this is done you can glue the sides and slots together.
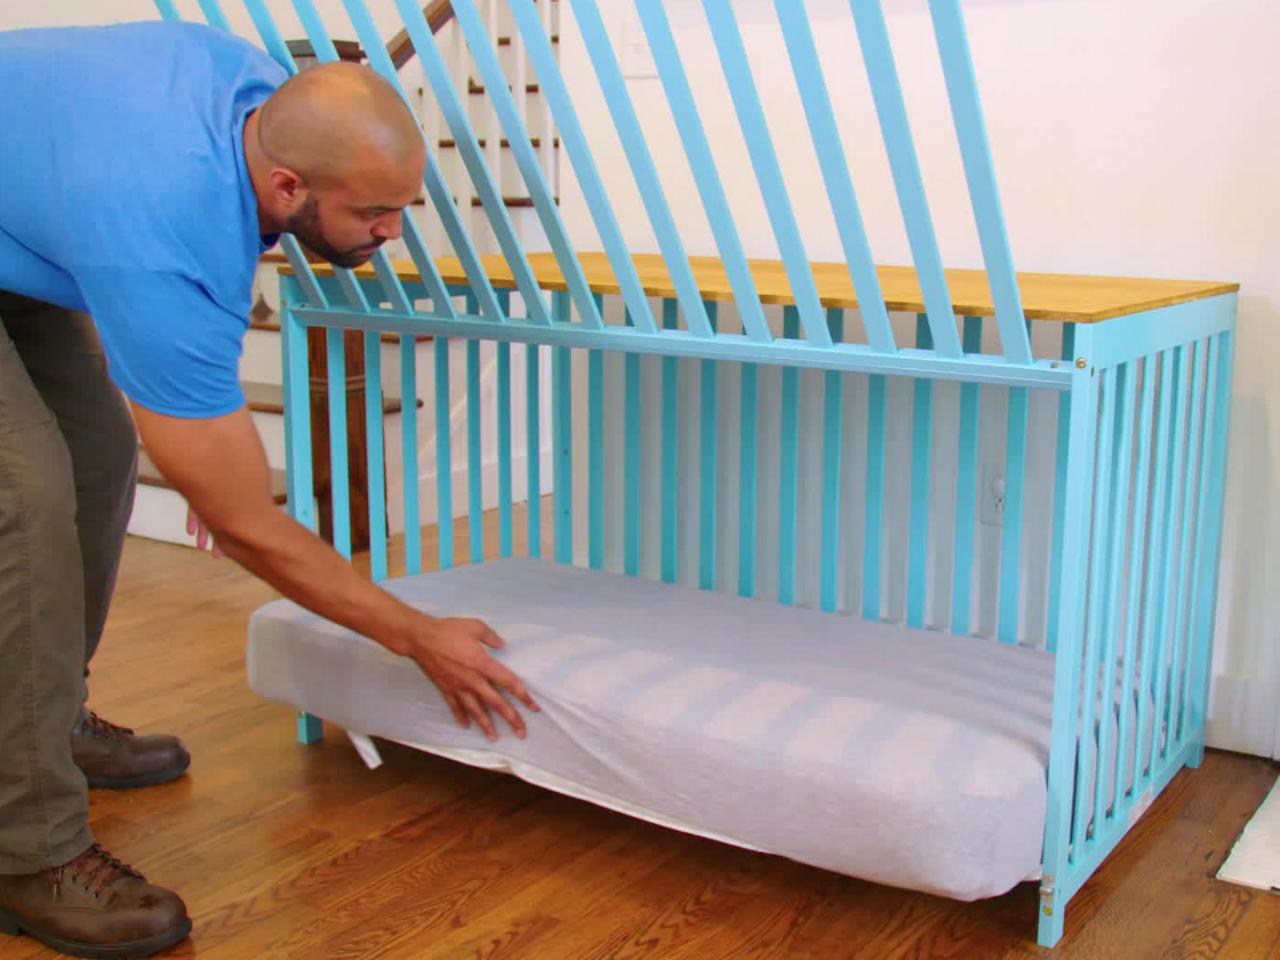
Eventually you will need to use more wood to make the panels. Take the 1.5 inch thick plywood and use the T-nut to adjust the crib height. Tie the legs with the crab and check the rib for strength and durability
If you want, you can dye the crib in any color you want. Let it go out for a few days before putting a baby in for the first time.
Build your own nursery furniture

Create bespoke furniture for children’s rooms
If you’re looking to make DIY nursery furniture, your choices are great. For example, you can create a set with a combination of bed, changing tables, and wardrobes. Or just beds or changing tables or three or two.
Make your own kindergarten furniture
It’s really fun to make your own furniture in the nursery. Children just love it!
Up until now, it wasn’t uncommon for a bed to be made by a father, grandfather, or other family member. This furniture is often passed on from generation to generation. In terms of sustainability, this tradition is becoming more widespread again today.
Services:
- You can make solid, solid, personal furniture for relatively little money
- You can easily adjust the size according to your needs
- You have the final finish and look in your own hands
Or maybe you find it pleasant to make your own furniture, you enjoy working with wood and you want to enjoy the satisfaction that comes from making something of your own.
More and more people, especially young children, prefer natural colors, oils or waxes. That too in your own hands.
What makes good children’s room furniture?
Children’s furniture must be robust and stable. Building a word is so important. But there are also safety aspects, especially for beds and cots. You can find the latest safety rules on this Dutch website. All of our designs comply with the latest safety standards.
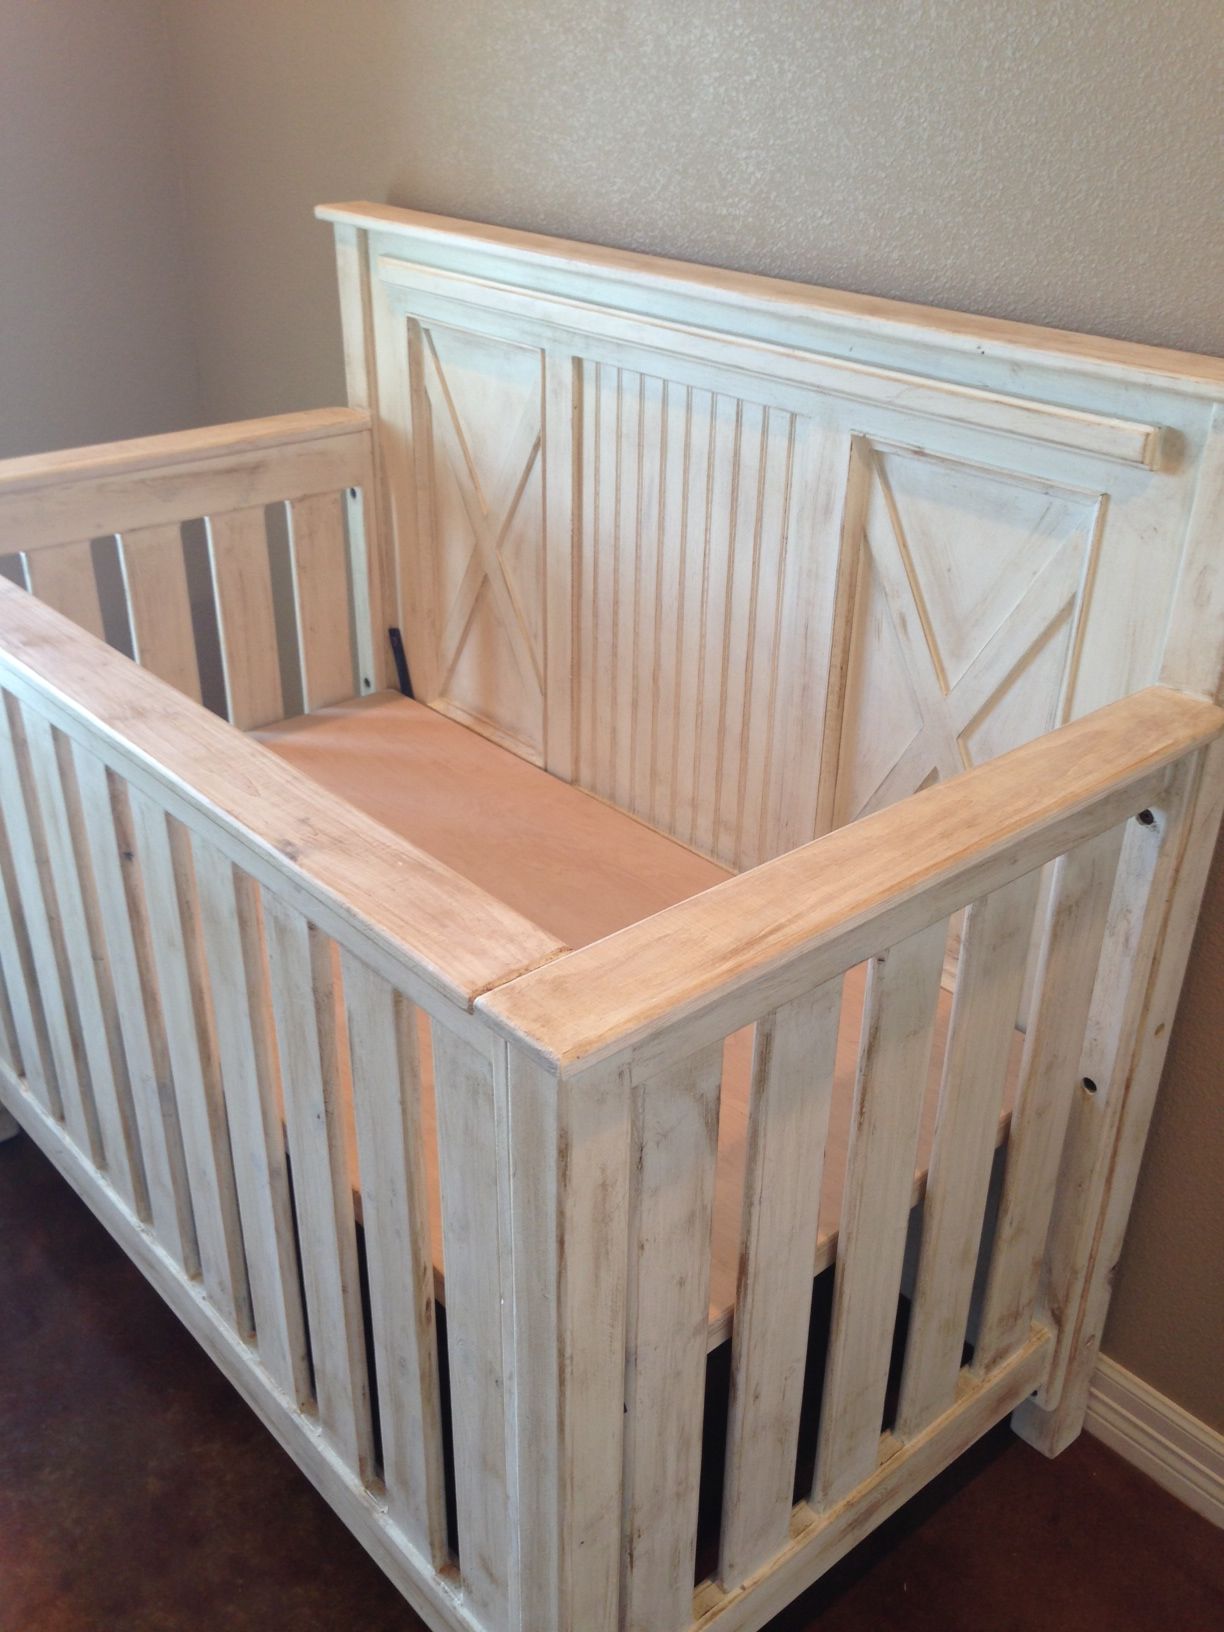
Additional considerations: Kindergarten furniture should suit you (for children and both of you) well and match your interior design style. You can say that thematically, but almost everyone agrees with a clear design and good, beautiful materials. The taste is certainly controversial. Many choose white in combination with natural wood (see our “You Made It!” Page).
Materials, what options are there?
It is advisable to use a solid material for construction. It can be hardwood like pine, dill, or hardwood. But you can also opt for plywood. If necessary, you can use two layers together. It is effective to use multiple layers to make connections by “stacking” your design. Non-structural parts can be made from MDF, ideal for painting and relatively inexpensive. Suitable types of plywood, for example:
- Birch plywood with its striking light grains. Ideal for finishing with varnish, oil or soap.
- Okoume, nice color (red / red) and suitable for grain and outdoor use. Also ideal for transparent lacquer or lacquer.
- Maranti or similar hardwood, not very beautiful, but strong and cheap.
- Pine plywood, originally a sheet material for visual structural use in construction, but better – and more expensive – types are also suitable for making kindergarten furniture. Mainly because they have a nice light grain pattern.
Good materials are readily available and when you go to a real wood dealer there is always a wide choice of beautiful woods such as oak, cherry and maple. And usually planed and cut to size.
Side slits or bars are also a suitable addition for beds and cots.
Good design everything
The design of kindergarten furniture should support both practical daily and long-term use. So pay attention to the variable table and step height. Can you adjust the height of the mattress? Drawer or door under the changing table? Can the modified table later be converted into a dressing table or dresser? Can you use the dress for teenagers in size and shape later?
The quality should be tough and beautiful and attractive. We see it as a challenge to make the construction robust and yet stylish. Hence, it is important to participate in smart but elegant parts. Then there are the aesthetic requirements. Is the shape well unbalanced? What’s the relationship like? Which form of connections corresponds to the overall picture? And does design strengthen? These are questions that you must be able to answer with “Yes” before starting construction.
It’s a shame to put money, good materials, and time into a project without considering these issues first.
Work
Before you start anything, be sure to read our cabinet determination tips. The different tips are very simple once you decide to start working. For those who bought a DIY design guide from us, relevant tips are included in the step-by-step plan.
When you are happy with the design, you are ready for the next step: an inventory of what you need. What you need in tools and materials for joints (screws, dowels, glue, etc.) and for finishing (sandpaper, paint, varnish, oil, soap, wax, brushes, rollers, etc.). There must be hinges and possibly drawer guides for wardrobes and interchangeable tables. Arrange these things from the beginning, there are different kinds of ramifications for your design.
When buying wood, you need a cutting list that lists the size and quantity of parts as needed. Sometimes it is effective to create a cutting plan or diagram to show you the most effective way to view the parts outside the sheet metal or plank. So you have some tests at the cost stated by your wood supplier. All of our manuals contain a cutting list and a cutting plan if required. There is a computer program that you can use to create cutting plans. Of course, for multiple pieces of furniture, having a cutting plan to cut the panels as efficiently as possible is really effective.
Materials ready
When all of your materials are ready, it’s time to prepare the parts of the ingredients. Spread out all the pieces and use a pencil to mark where the joints and connections need to be made (holes, grooves, etc.). It’s also wise to give each part a name or number so that you can see at a glance what each part is and where it belongs.
Once that’s done, you can do a “dry run” and put everything together without glue. You will soon see that everything is fine.
Finish the preparation
All parts can now be separated again. Now is the time for grinding, which will be at least partially visible. You may want to mark a cross on something (pencil) that is not visible.
It’s almost always a good idea to sand or smooth any visible sharp edges called chamfers or bevels. Above all, it is child and foot friendly.
Assembly
Once all the parts are done and “clean” (sanded, sanded) there are two ways to do the following step. You can either apply all the pieces of your chosen finish (paint, varnish, oil, wax, soap, stain, etc.) first, or you can apply the finish by putting everything together first.
If you want to spray the finish you have chosen, it is better to do the latter. In this case, make sure you can reach all areas. If not sprayed, be careful not to apply any surface to the lightly adhesive surfaces before applying the surface to all of the individual parts prior to assembly. Mark them with a pencil and / or mask the area with tape.
And more
If all goes well and all the pieces fit together very well, then you can go forward to connect everything.
Tighten everything up, let the glue dry, then enjoy your own furniture!
Professional is a professional design (you can of course change it and see what our customers did).
Materials help with material selection
Materials material list
Cutting list
• Cut plans (where necessary)
Detailed drawing to prepare the materials
Details of the various connection methods (e.g. screws, duels)
Some explanations at the end
Detailed step-by-step instructions with detailed drawings and drawings
• Necessary tips and strategies where required
We currently offer two free manuals: the classic “Nevada” picnic table and the “Pillar” side table / bed cabinet.