How to Decorate a Baby Nursery in 10 Easy Steps
First of all, congratulations! Having a baby is an exciting time. However, many new parents are overwhelmed with all that there is to do when they try to set up a daycare center.The following step-by-step instructions will help answer some of your questions and guide you through the process of furnishing a nursery.
When it comes to furnishing a baby’s room, you have many options. If you have a particular paint color in mind or have discovered a baby bedding you like, you can start – almost anything can be used as inspiration for a children’s decorating theme.
Step 1: Research before you make a purchase
The most important thing when it comes to finding the right look or theme for your childcare is to do your homework first. Get inspired by window shopping, browsing magazines, or looking for availability online. The key is to search and gather ideas first, but don’t buy anything until you have a firm plan, otherwise, you could end up spending more time and money on purchases than you really need. If you start buying everything you like when you first see it, your ideas may not end up fitting together very well, and then you may have to return things (i.e. when the store you bought from even accepts returns). In short, it pays off, both in terms of time and money, to plan your baby’s daycare in a logical and organized way.
Step 2: Write down your ideas
As you draw inspiration from various sources, write down your ideas as well as your likes and dislikes. What colors do you prefer? How do you want your baby’s room to feel? Think about the furniture you want when you buy a new room. Think of high-quality children’s room furniture that will stand the test of time, such as convertible children’s beds that can later be converted into a toddler bed or a single bed.
Step 3: Walk around the room and write down the measurements
Explore the room that will become a nursery for your baby. Walk around the room and imagine what you think it should look like. Will the ideas you like work in the space available? Take measurements and notes so you have everything you need at hand when you go shopping.
Step 4: Think of a plan
If you have a good feeling about the room and have your measurements at hand, the next step is to create a floor plan. A floor plan (even a sketch) will give you a better idea of whether your ideas will actually work in the space available.
Step 5: Experiment with different furniture arrangements
Create simple furniture templates as part of your plan and play with different arrangements to see what works best. This is a very important step if you plan to buy new furniture and use the space for your child’s bedroom in the years to come. You see, a new crib can fit nicely next to a shelf, but a toddler or double bed cannot. You should consider not only your baby’s current needs but also her future needs.
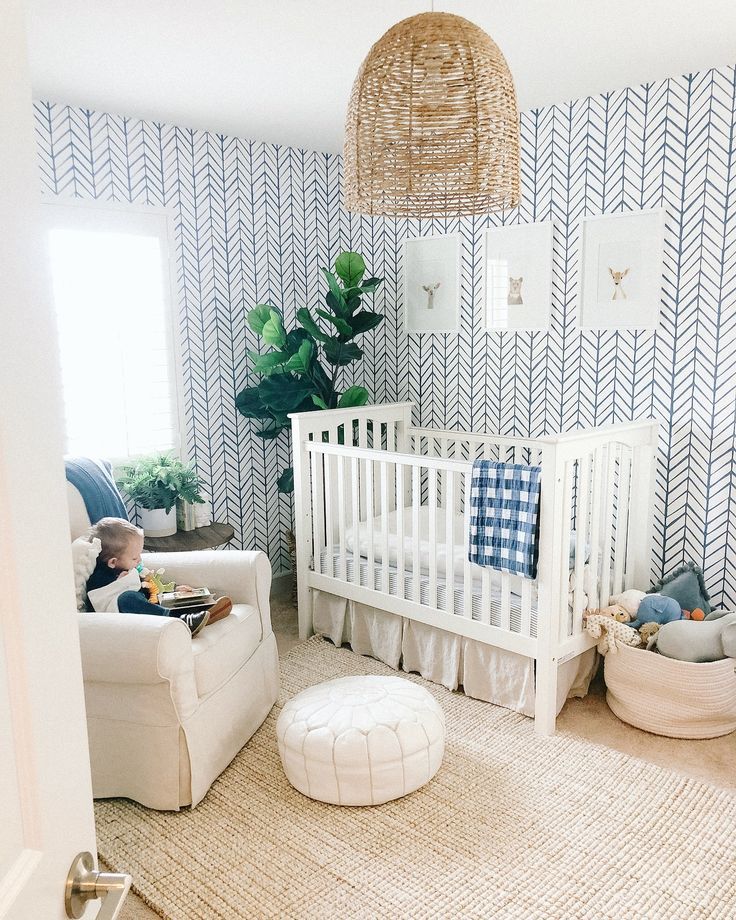
Step 6: Try different colors
The first step in choosing the right color or colors for a child’s room is to collect a collection of color chips from a local paint dealer. Use the color chips to explore a variety of colors until you find a color you like. Once you have a favorite color or two in your mind, you can narrow it down to one or more specific shades. Usually, a base color is good, with one or two other colors as an accent. Accent colors can be brought into the room with a second coat of paint, children’s bedding, artwork, wall stickers, wallpaper, accessories, etc.
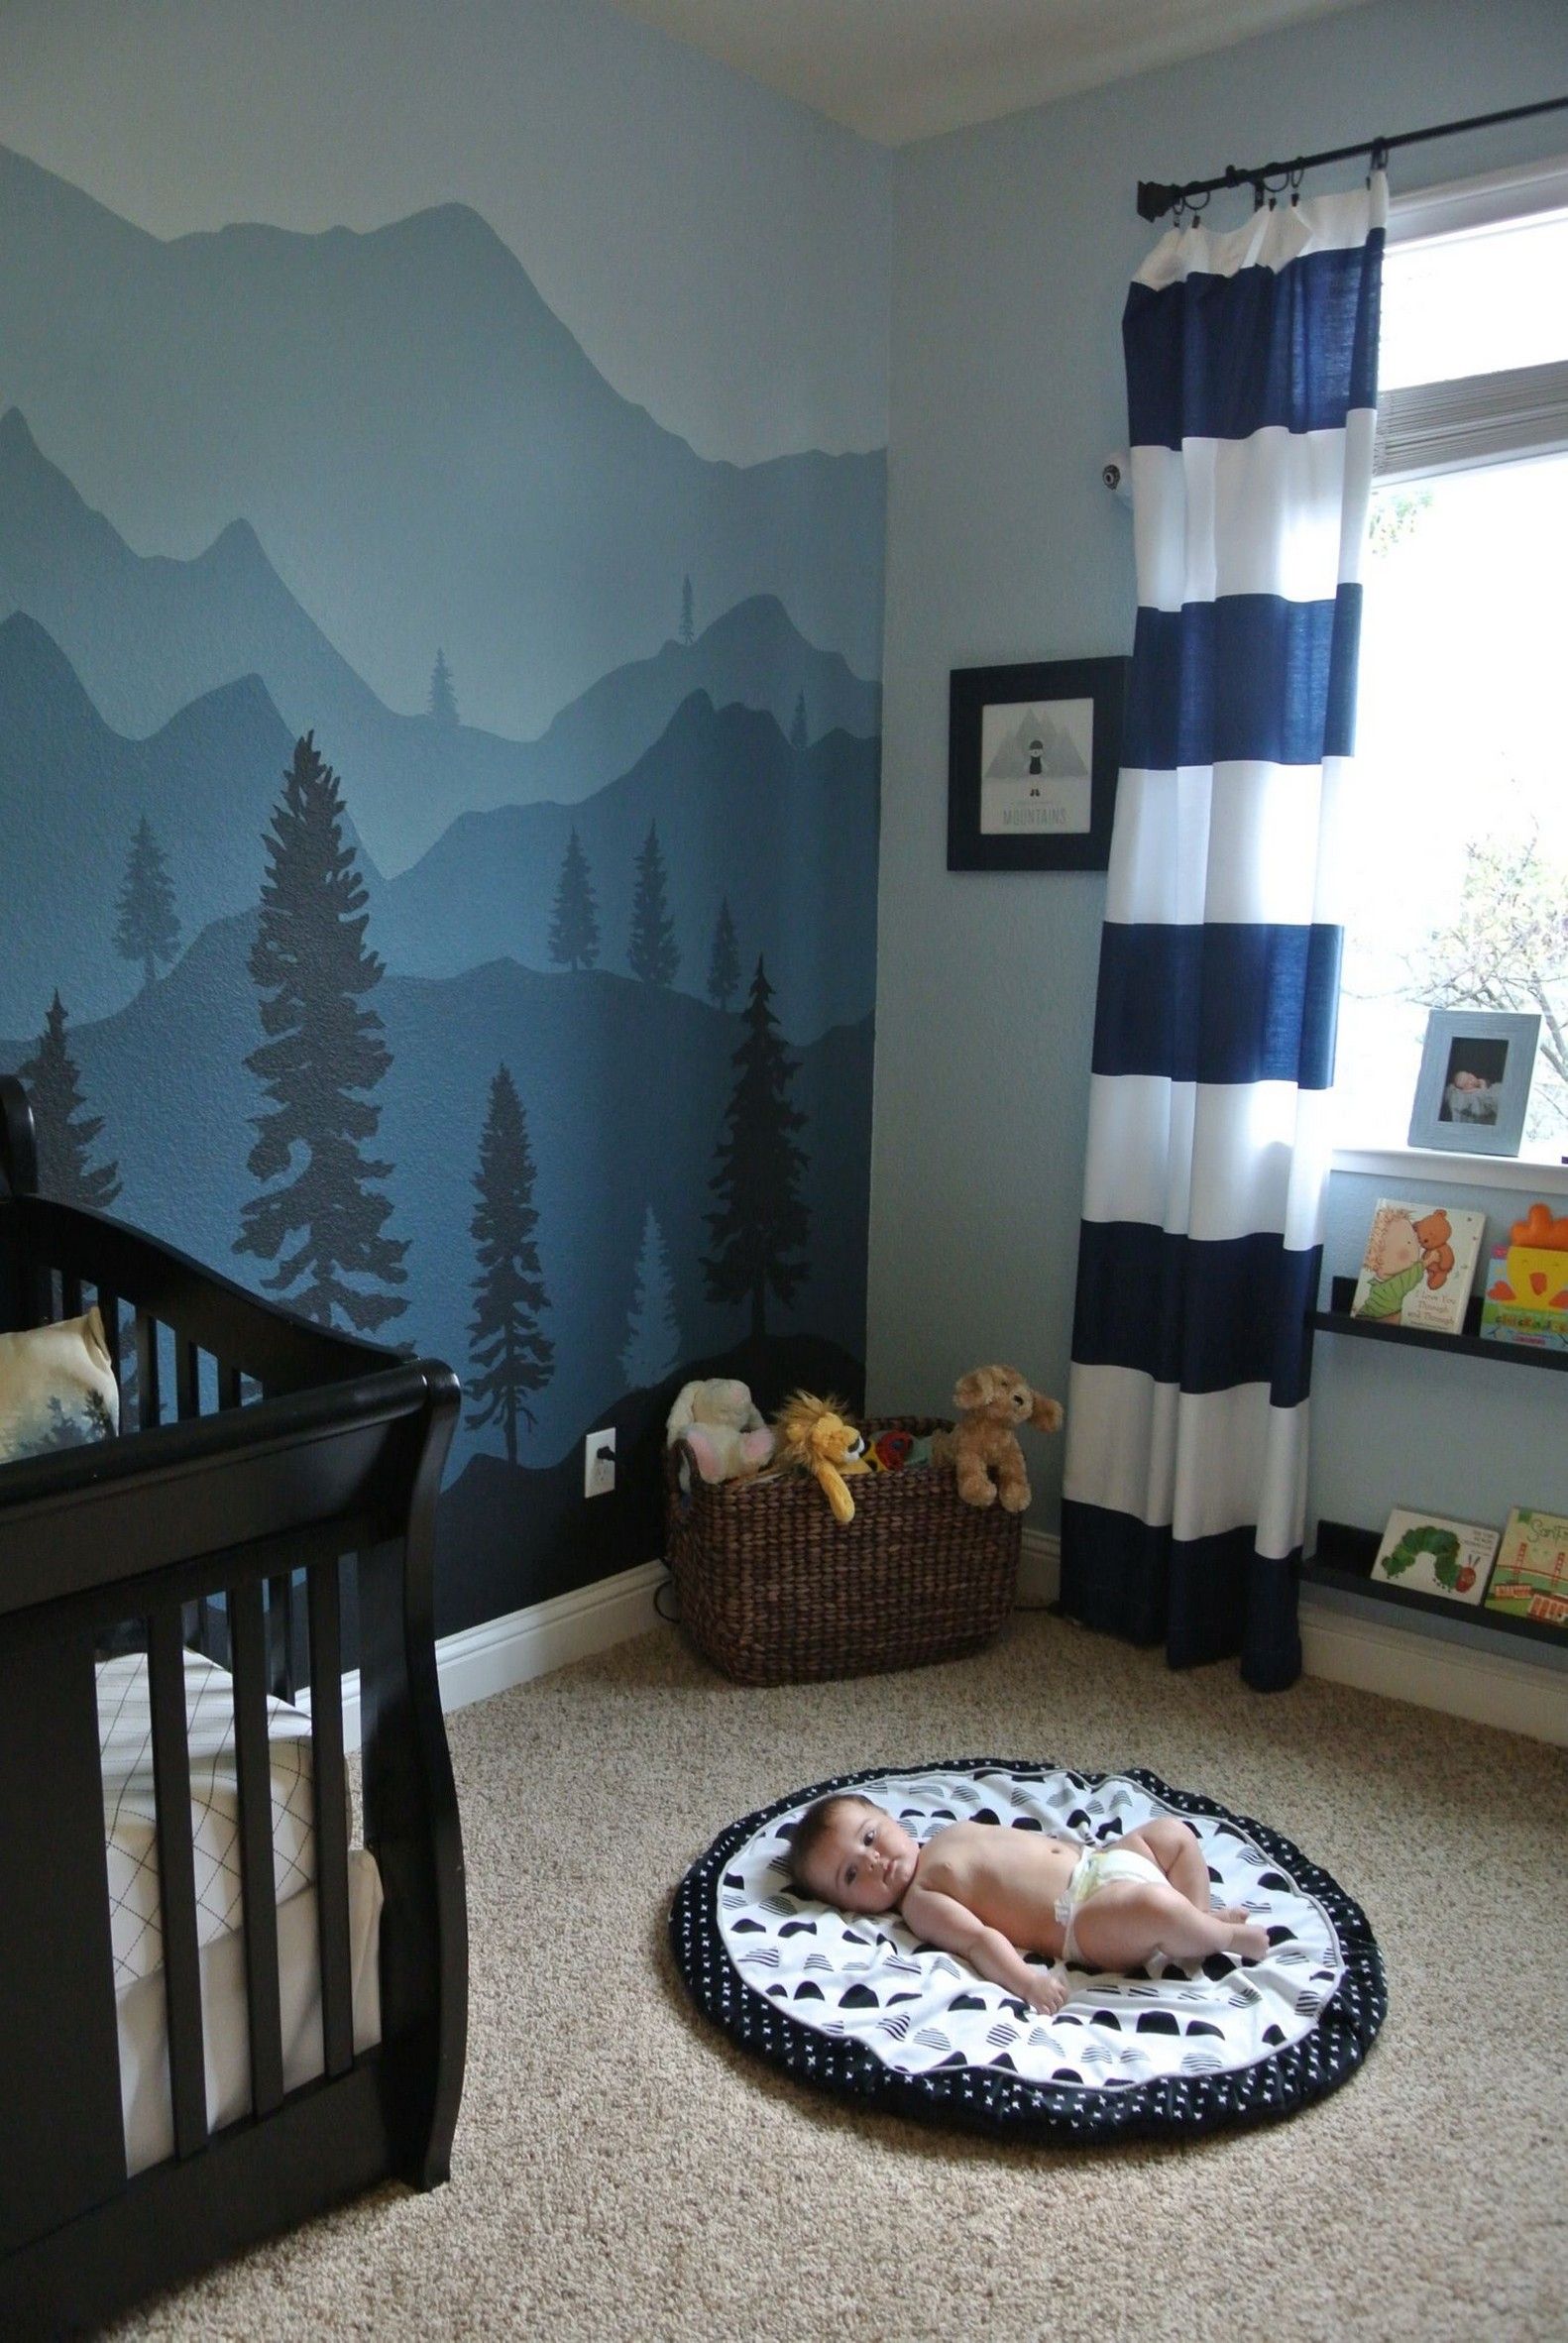
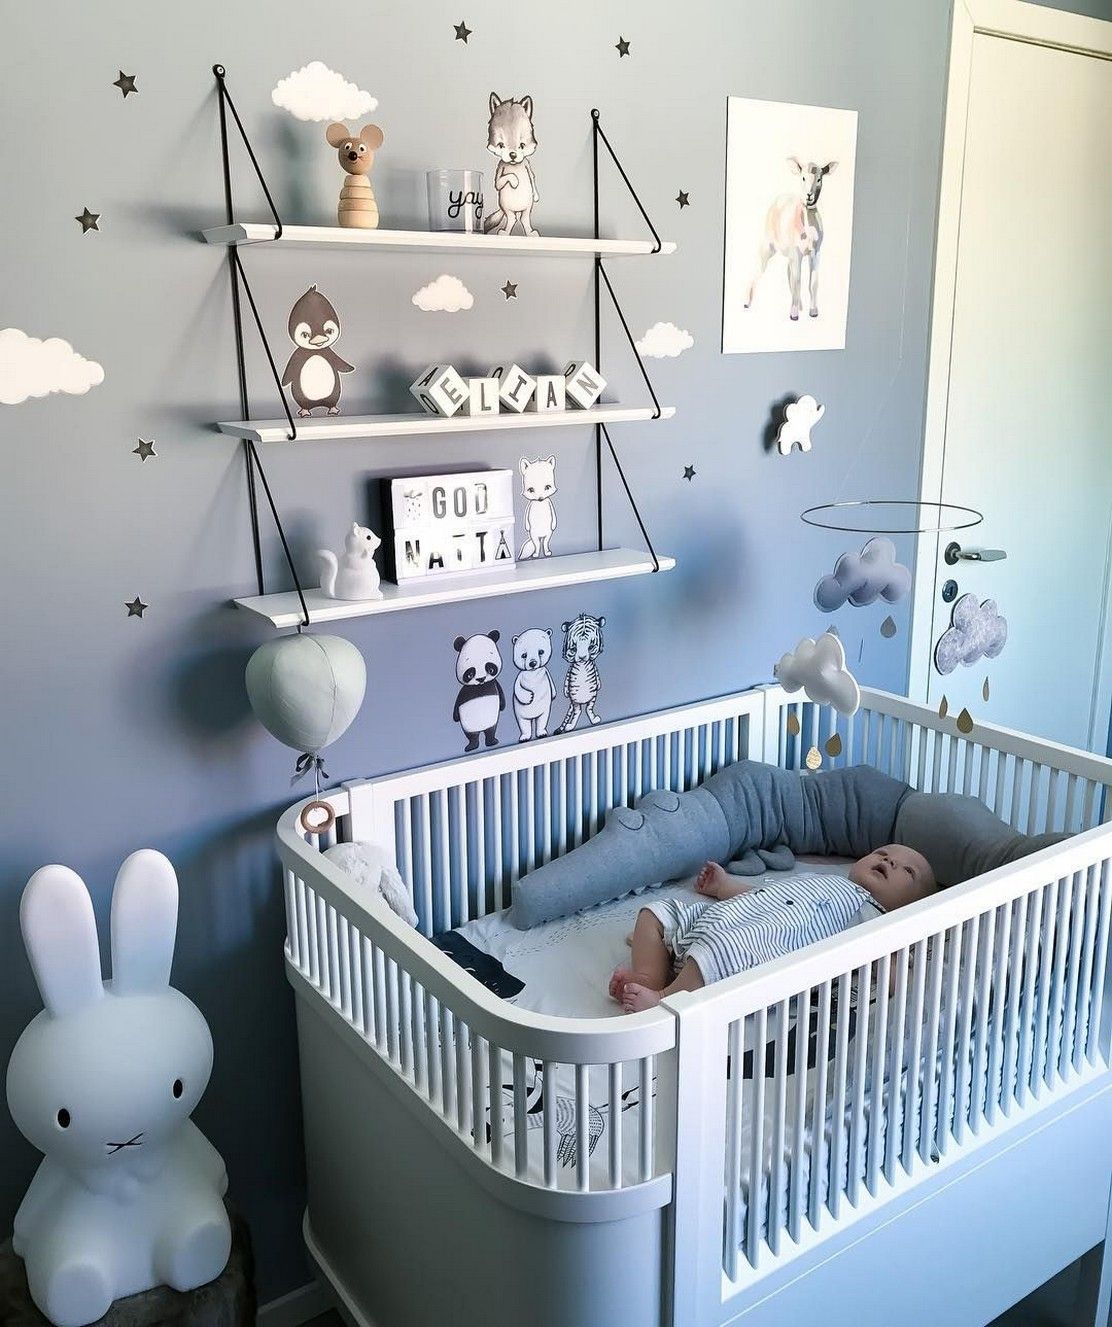
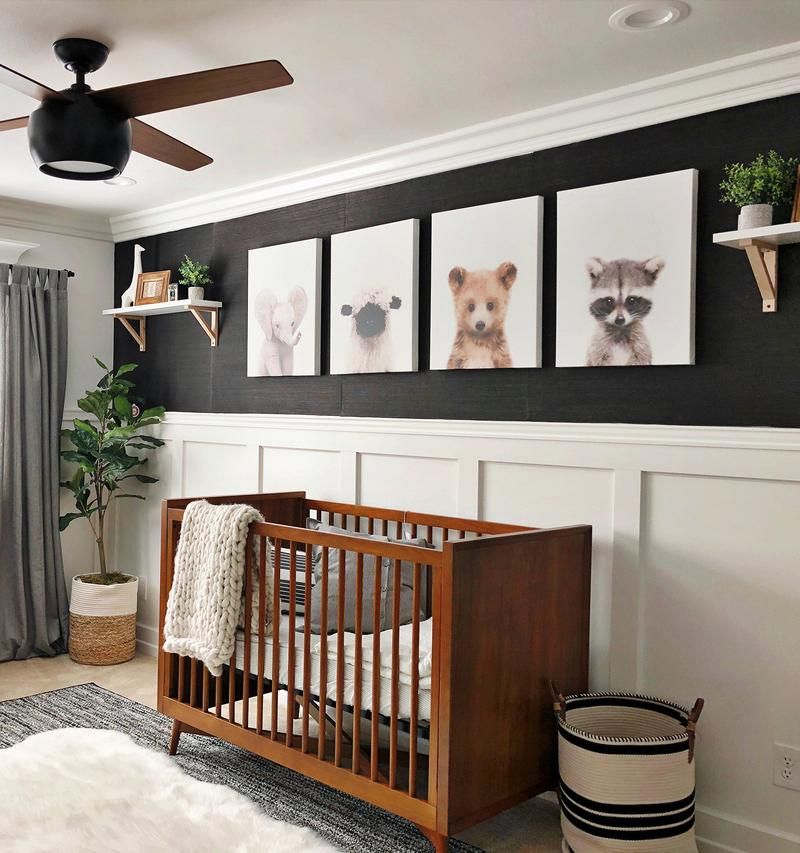
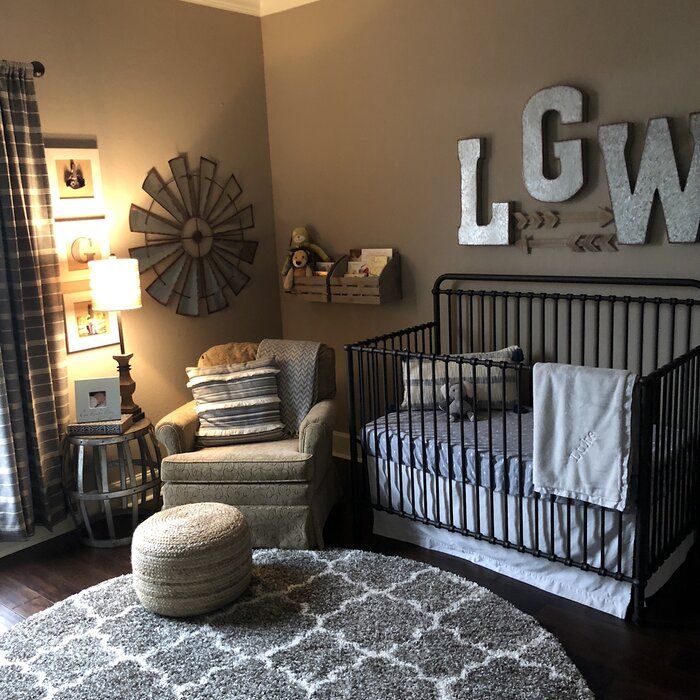
Step 7: Decide how you want to decorate the walls
It can be fun to decorate the walls of a kindergarten. There are so many ideas for decorating the walls of a nursery that they fit in with almost any nursery theme you can imagine. The key is not to overdo it – the last thing you want to do is create a room that has a lot to do and that overwhelms your baby. A small mural or a wall mural should suffice. You can also consider wall decoration ideas that can be easily updated as your baby grows. Wall stickers for peeling and sticking are a good idea as they are usually easy to remove.
Step 8: Consider window treatment ideas
You don’t need to know how to sew to create lovely window treatments for your baby’s nursery. The important thing is that you first decide on practical window coverings, such as blinds or Venetian blinds (for napping), before making a decision on how to cover them, for example with a valance and/or side curtains. For long life, you should choose high-quality curtain fabrics that match the color of the walls and floor covering. Curtains and hairpieces for the nursery with a baby motif can be beautiful, but they need to be updated sooner rather than later.
Step 9: Are you making changes to the floor?
In most cases, you probably won’t change the floor, but you may want to add a carpet that keeps the colors of the room together. A colorful flat or disposable rug placed on a neutral carpet is a great way to add an extra touch of color to your baby’s room.
Step 10: Buy a bedding set
A good crib bed set may be all you need to inspire a whole child’s theme. A crib can become the center of attention in a baby’s room, or it can be simply an accessory and a hand-painted mural can be the center of attention. If you’re planning to furnish a nursery that also serves as a nursery and beyond, considers using solid or striped linens instead of crib covers with a baby motif. The reason I am suggesting this is that the crib linens you buy today usually fit most children’s beds. So if you have purchased a quality set of bedding, your child could use it for several years before the bedding wears off.
Finally, try out your design ideas on a sample board. It collects all the patterns on the walls, windows, floors, and bedding and lets you play with your choices. (A sample board can simply be a poster board on which all your ideas are presented.)
Many beautiful baby rooms are the result of trial and error. Have fun and experiment with different aspects of the nursery until you get the one you want for your baby.
Have fun decorating!